In this approach, we will use the ADB (Android Debug Bridge)tool available in Platform-Tools inside the Android SDK.
If you’re working on Windows, check that the environment variables path is set to the Platform-Tools (xxx/Users/Library/Android/sdk/platform-tools/). As you’ve configured the paths, just execute your commands type adb in the terminal or at the command prompt, which gives you the list of options.
Remember, we need to be connected over the same Wi-Fi network in the system and mobile. Let’s get started.
Step 1. Connect the device to the system via USB for initial setup
To check whether it’s properly connected, open the built-in terminal and run the command adb devices. This gives you the list of devices currently connected.
Step 2. Set the target device to listen for a TCP/IP connection on port 5555
adb tcpip 5555
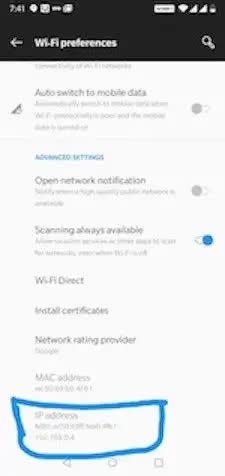
Step 3. Find the IP address of the Android device
For example, on a Nexus device, you can find the IP address at Settings > About the tablet (or About phone) > Status > IP address.
Step 4. Connect to the device by its IP address
adb connect IP_Address
Step 5. Remove the USB cable and test your connection by typing the initial command
adb devices
That’s it, we’re done. We can run and debug wirelessly now.
If the adb connection is ever lost:
Make sure that your host is still connected to the same Wi-Fi network your Android device is.
Reconnect by executing the adb connect step again.